Using water slide decals
Posted on February 21st, 2017
I have tried various methods to finish off pedals but recently I have been using water slide decals to add artwork to pedals. The process is straight forward and can produce fairly good results and is great if you want to use detailed or photo artwork.
I used water slide decal paper that can be used with an ink jet print. This is available in white backed or clear paper and feeds through your printer as normal. If you are using an ink jet printer you will need to spray a number (I used three) of thin coats of lacquer before soaking the paper in water. This should not be required if you are using a laser jet printer.
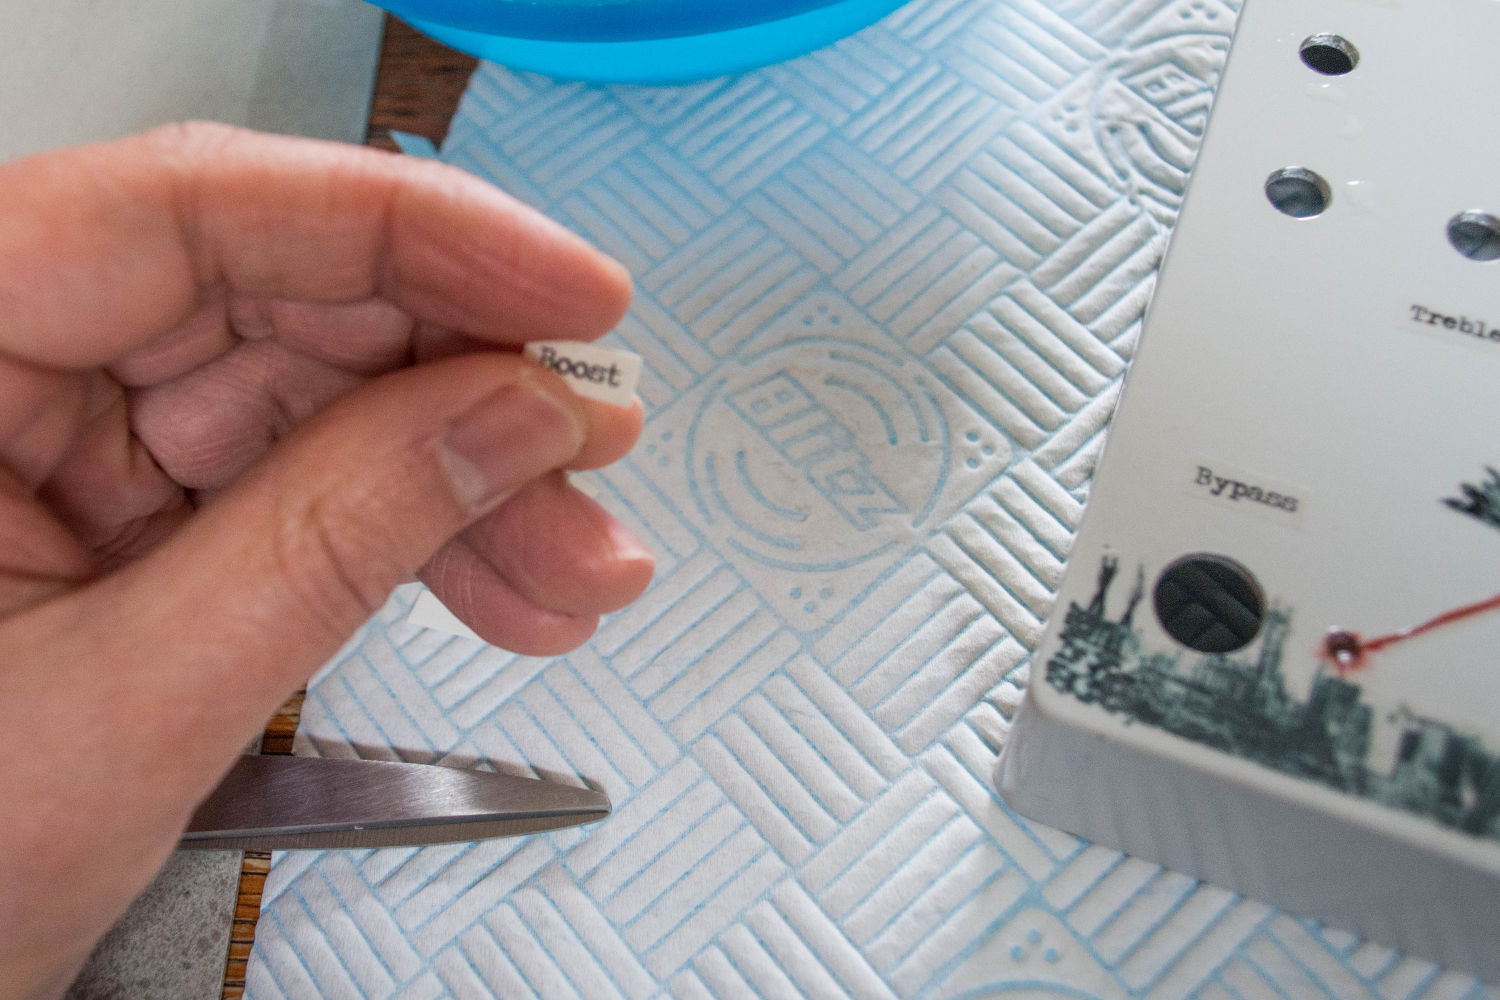
Water slide decal cut out
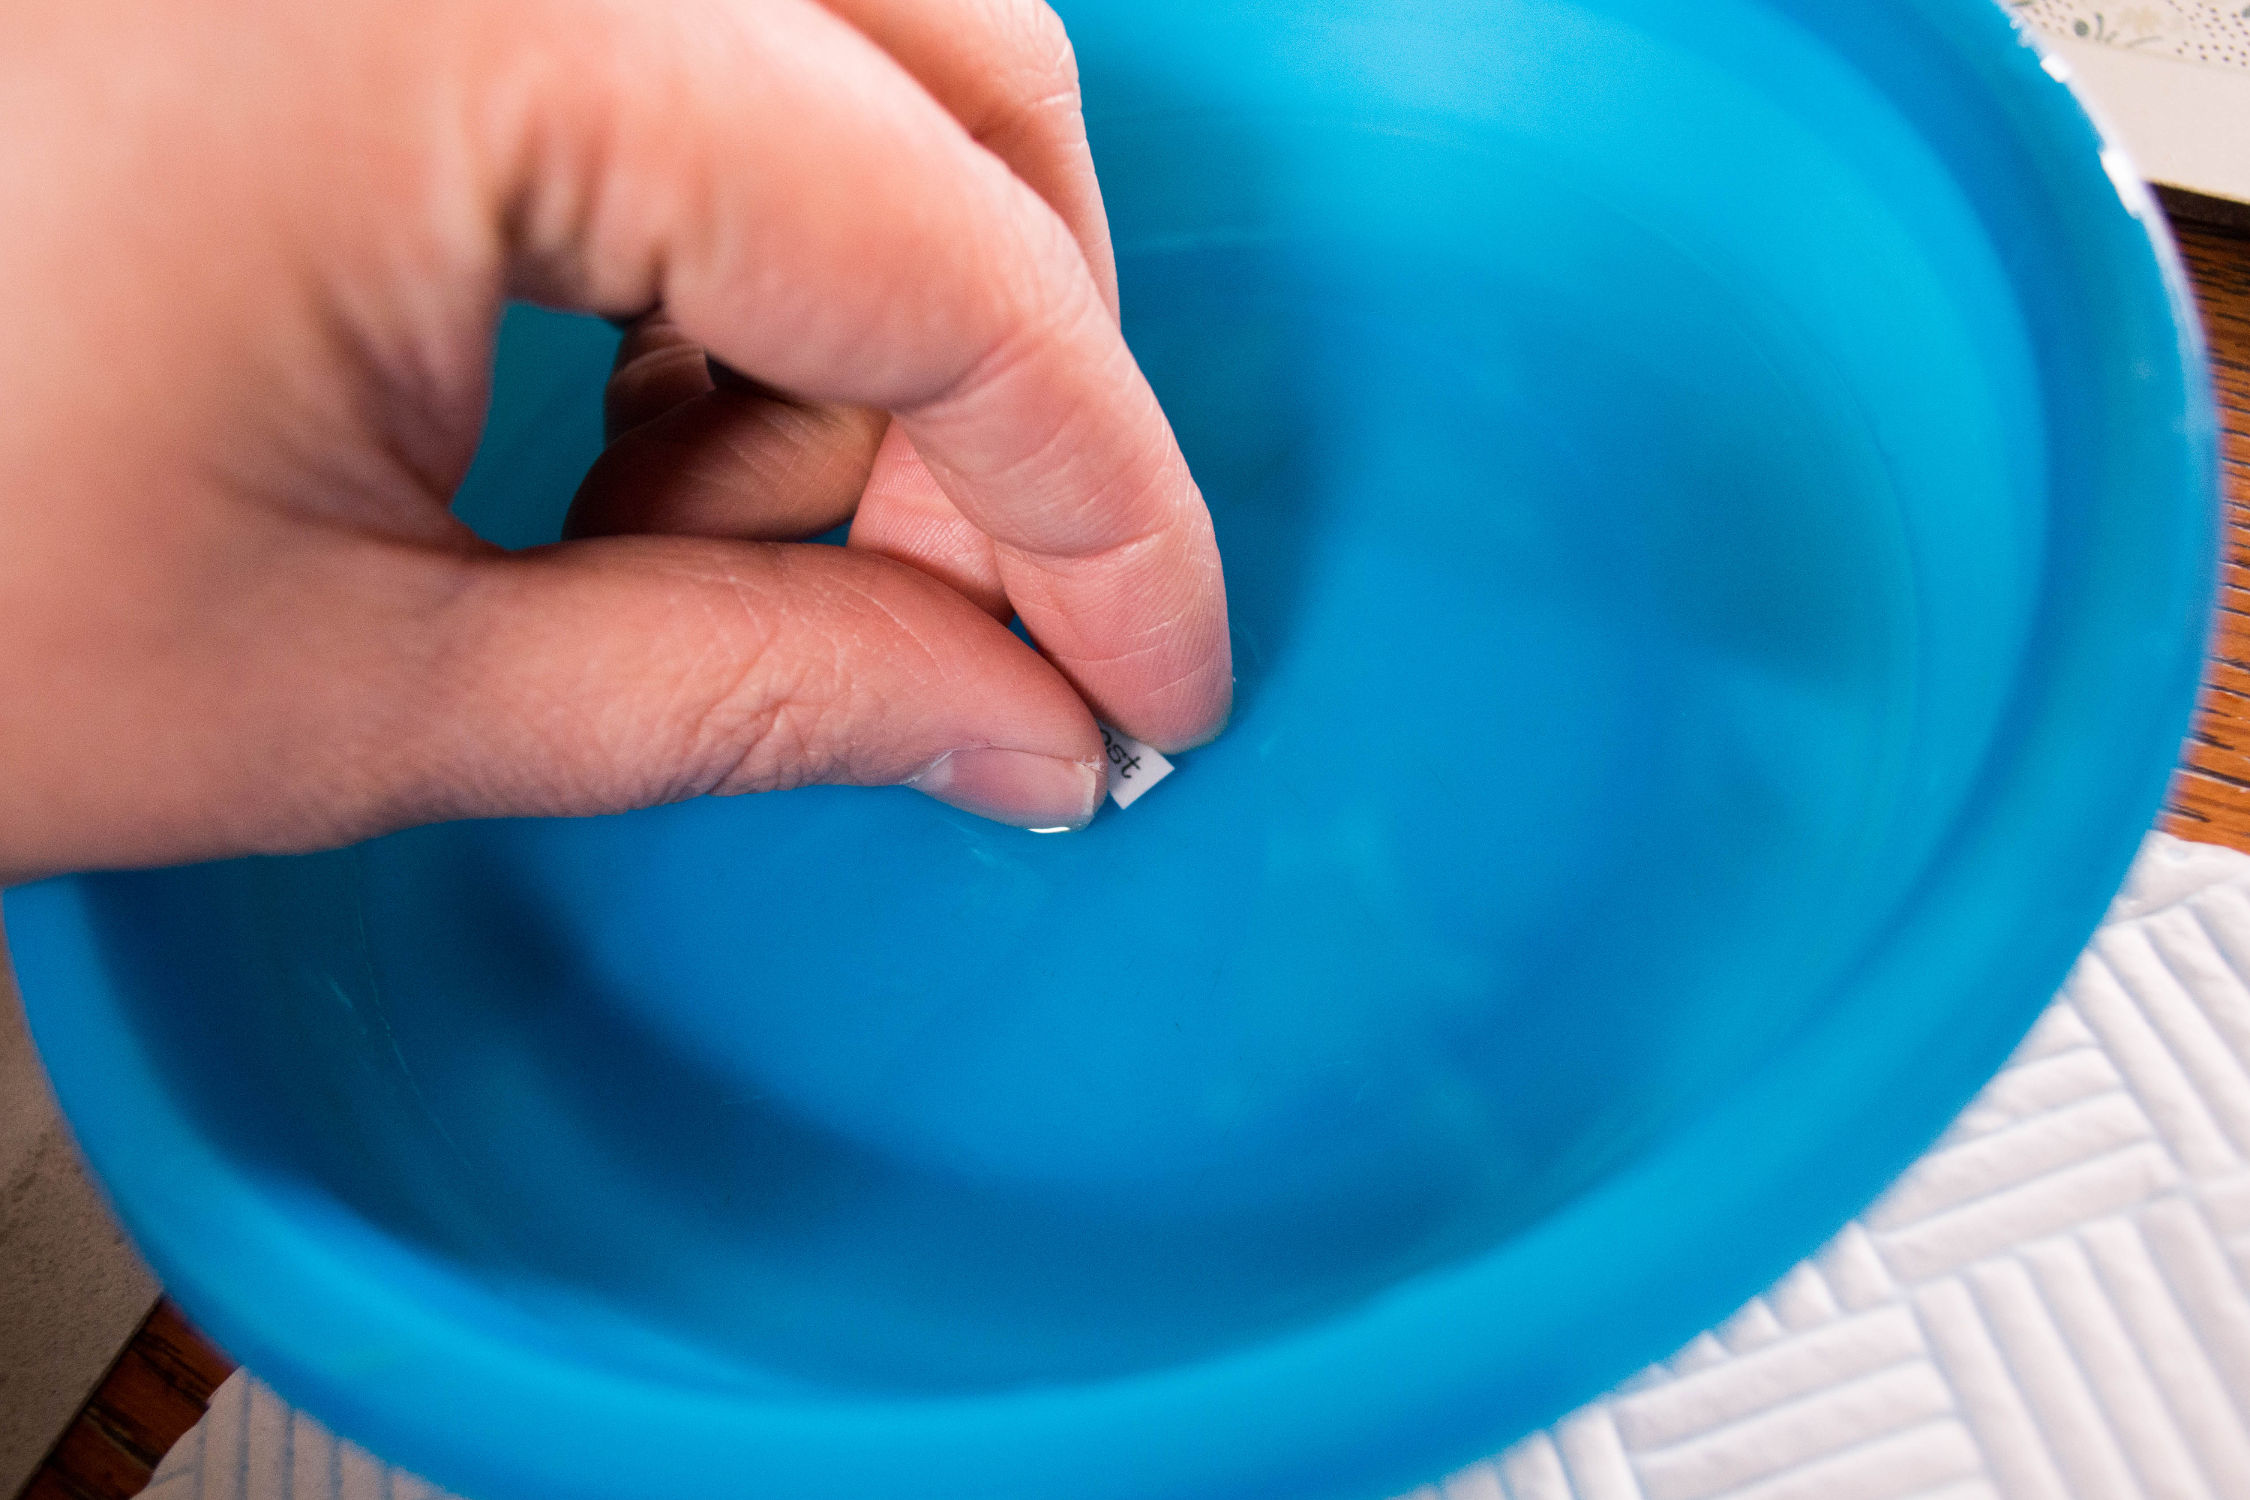
Soaking a water slide decal
Once the lacquer has dried, your decals can be cut out carefully and soaked in water for a few seconds. When the decal has soaked for enough time, you should be able to gentle slide the decal from the paper backing and position it in place on your pedal. To help move the decal around it helps if you place a few drops of water to on the pedal first. Once you have the decal position, a tissue or paper towel can be used to remove excess water. Be careful as it is easy to accidentally move the decal.
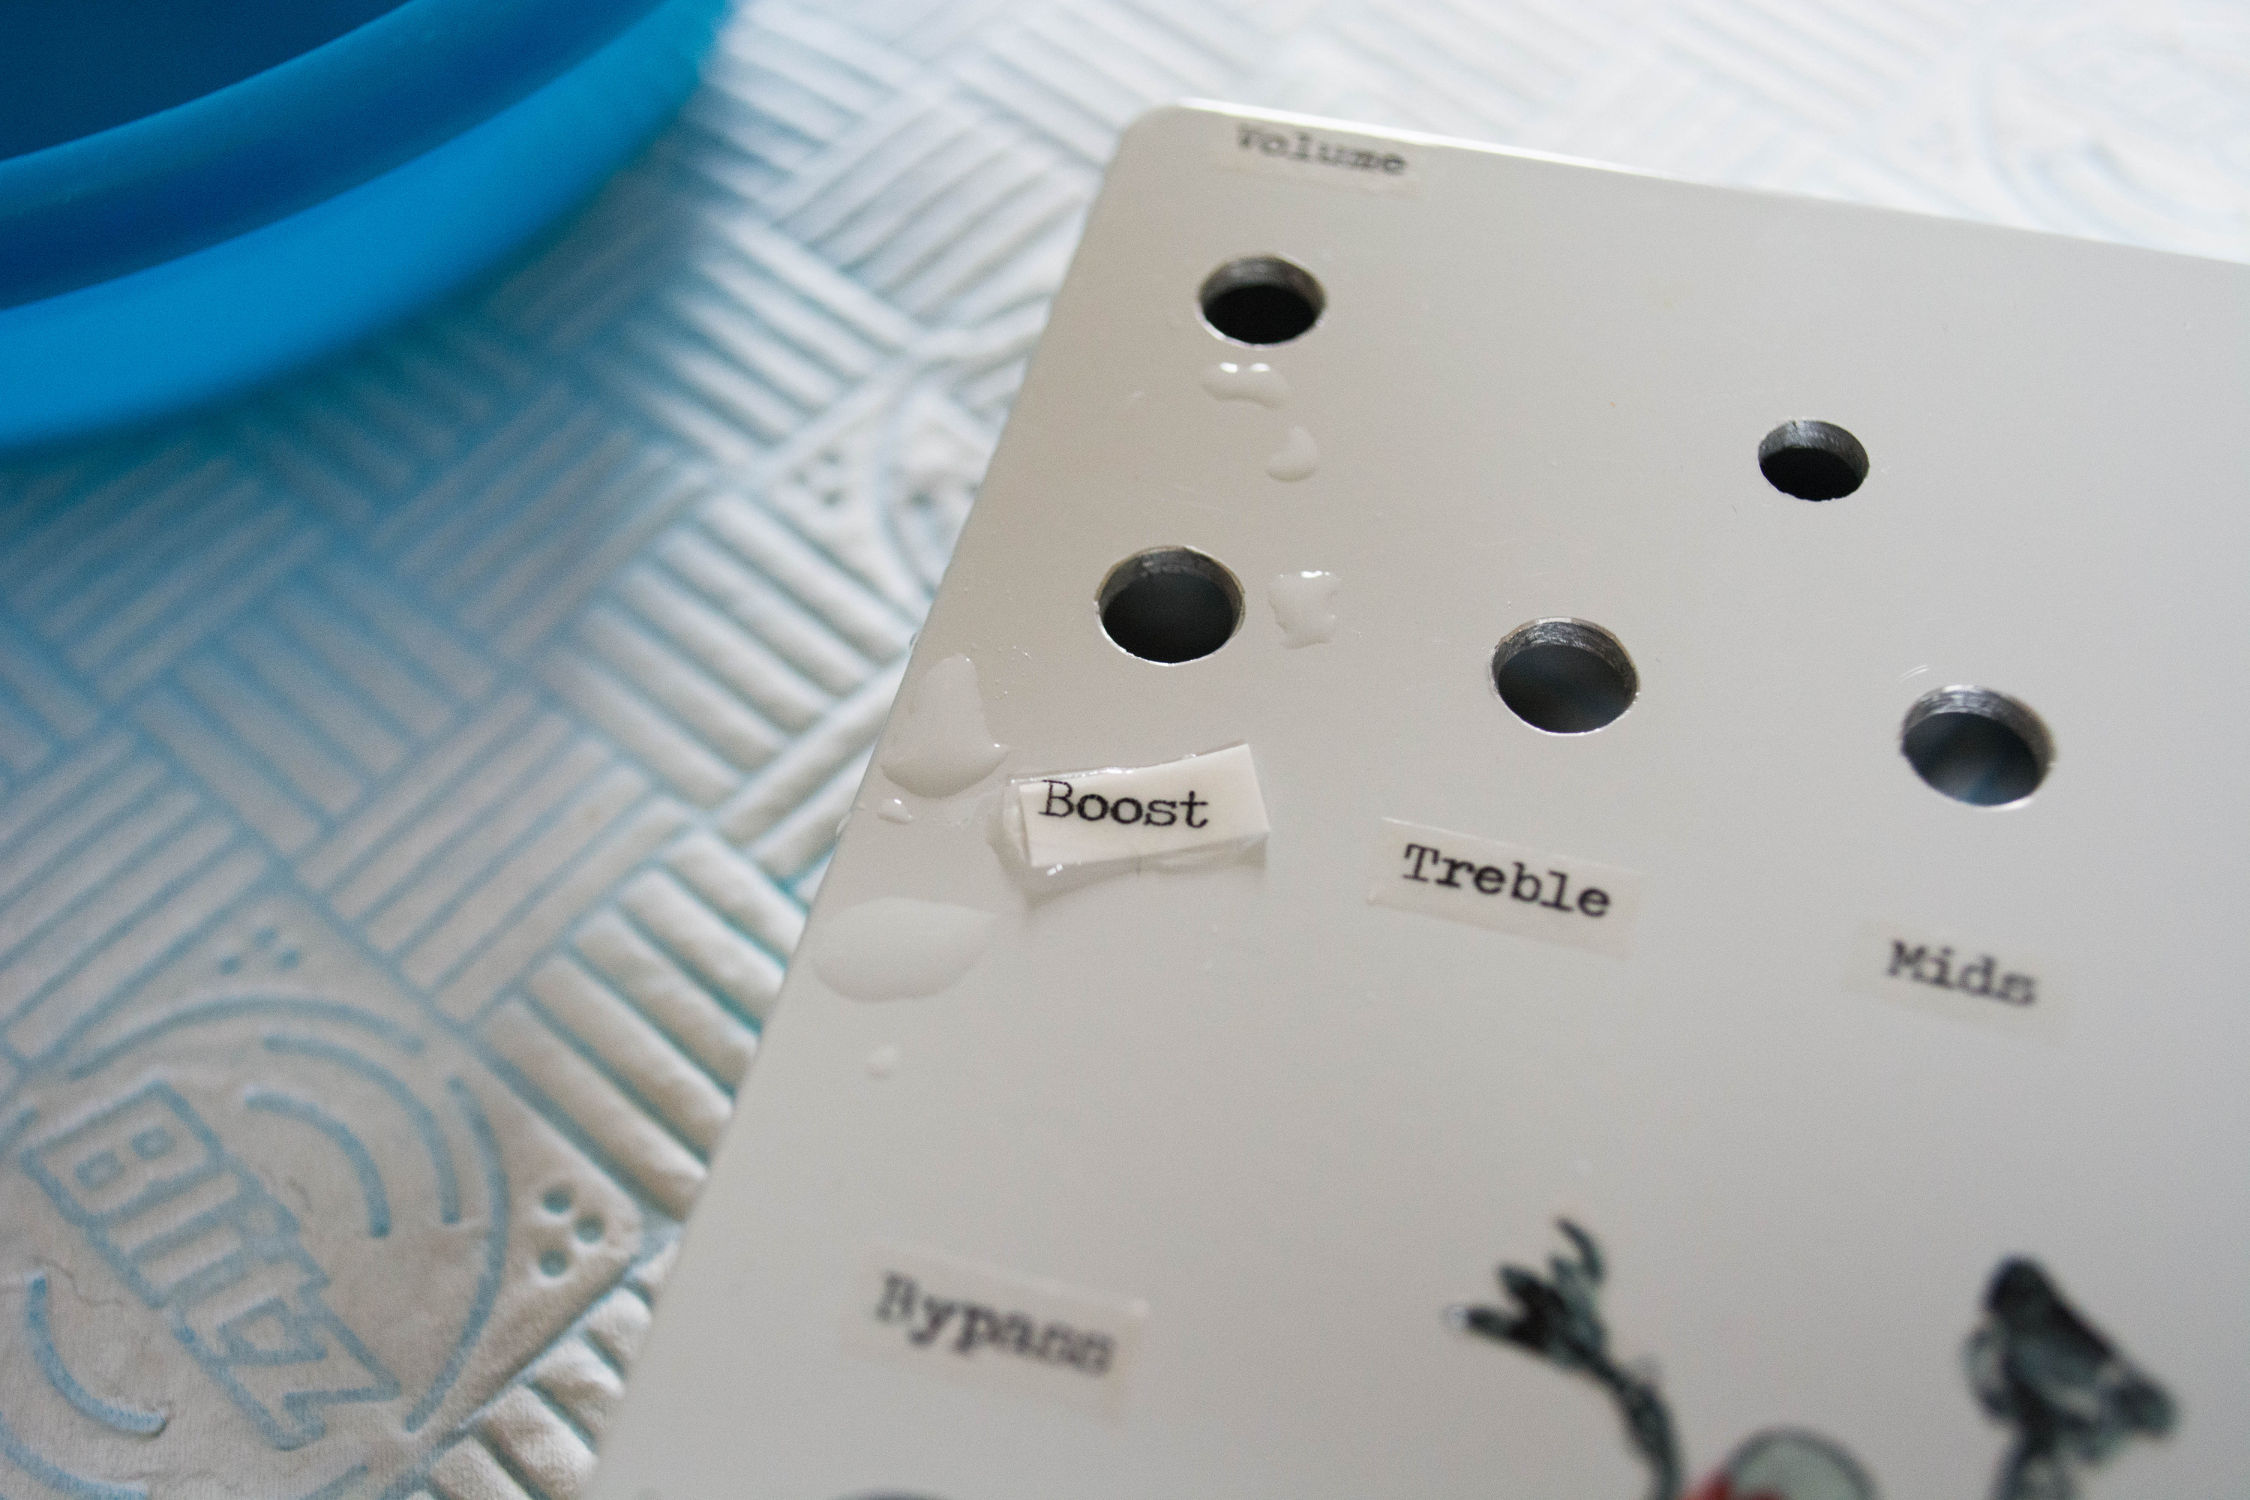
Sliding the water slide decal into place before removing the backing

Excess water can be removed with a tissue or paper towel
I then leave the pedal to dry for a few hours before applying final coats of lacquer. Once finished you can see the edge of the decal when looking closely I need to experiment with different lacquers to see which work best. The lacquer I am using tends to yellow, which shows up the edges quite a bit. I have only used clear decals on light powder coated enclosures as the colours will show up better.

Water slide decals after applying the final lacquer
I leave quite a large border around my decals to make it a bit easier, cutting closer to the design could hide the edges once the final layers of lacquer have been applied.
Be careful when moving the decals around, it can be easy to warp or stretch a decal if you move it too much.
Etching single and double sided PCBs
Posted on December 16th, 2016
This is going to be a quick post about how I etch PCBs and more importantly my recent experience with double sided PCBs. I won’t go into too much detail but I am going to try and provide some useful tips I found along the way.
Designing your PCB
There are a lot of programs out there for designing PCBs such as Eagle and DipTrace which are high quality professional solutions for design PCBs. I have tried a few of these when getting PCBs manufactured but the learning curve is steep. However, there is a great (and popular) piece of software called the DIY Layout Creator created by a member of the DIY stomp box community called banika. I would highly recommend this for a first time user or hobbyist who just wants to design and etch a board. It has a great intuitive UI and can also be used for veroboard layouts and schematics. DIY Layout Creator can be found here http://diy-fever.com/software/diylc/
Transferring your design onto copper
There are a couple of options to get your design onto the copper board such as screen printing and photo resist methods. However, I am going to talk about the toner transfer method which is very popular and (in my experience) produces good results. The toner transfer methods works by printing your design onto a medium using a laser printer and then using heat to transfer the toner onto the copper.
(more…)


